
Stay organized and up-to-date with what is going on in the field. Connect to PlanGrid and sync your projects so that you can associate tickets, forms and material requests with PlanGrid tasks.
Table of Contents
Connecting to PlanGrid is a two step process. First you will connect to your PlanGrid account in Account Settings, then you will link the projects in Admin > Projects.
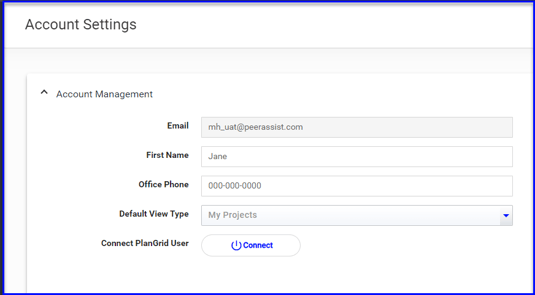
- To connect to PlanGrid, navigate to Account Settings via your initials in the upper righthand corner
- Find Connect PlanGrid User and select Connect
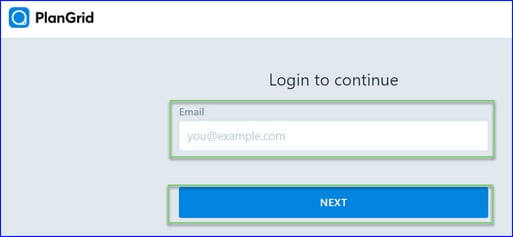
- Enter your PlanGrid Login
- Click Give Permission to allow PlanGrid to connect to PeerAssist
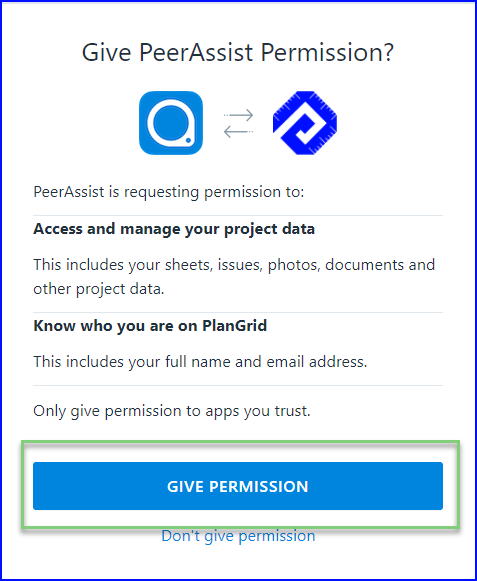
You have now connect connected to your PlanGrid account.
The next step is to sync projects.
- To sync projects, navigate to Admin > Projects and Edit

- In the PlanGrid section, click on Link Project

If you receive an error message that you are not connected to PlanGrid, refresh your browser and Link Project again.
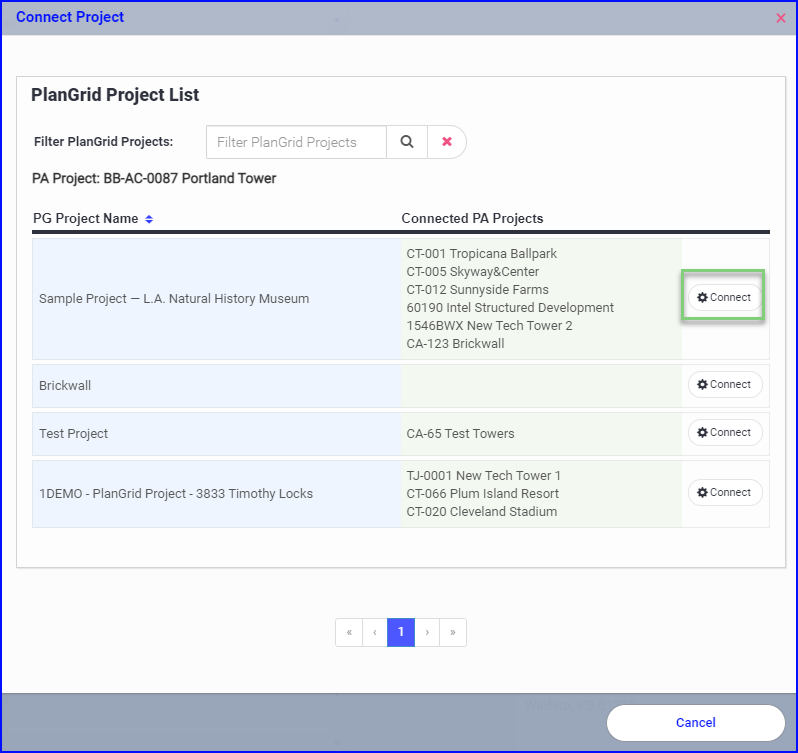
- A window will open displaying your PlanGrid projects, locate the job that you are syncing with and click Connect
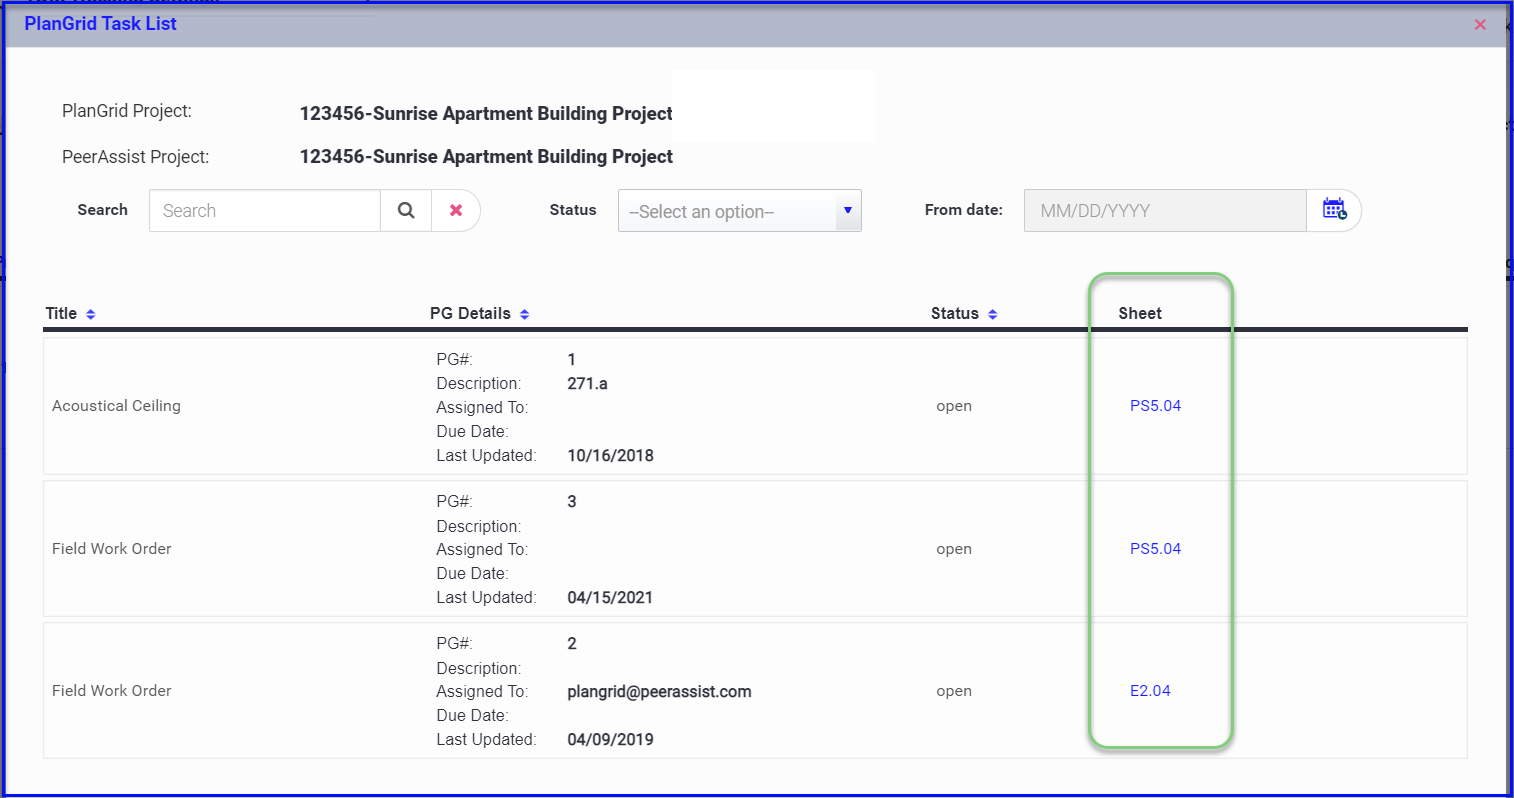
- Once the projects are sync'd, you will have a button to View PlanGrid Tasks
- You will also be able to Disconnect Project if needed

- The PG# is the PlanGrid task#
- If you click on the Sheet number it will redirect you to your PlanGrid account in a new tab
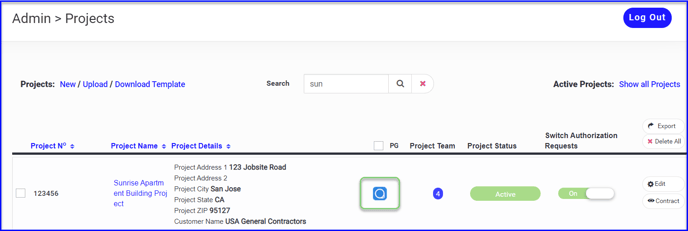
- You will now see the PlanGrid connection in your project dashboard
- If you click the PlanGrid icon it will redirect you to your PlanGrid account in a new tab
Now that your project is sync'd you can begin associating tickets, forms and material requests with PlanGrid tasks!