
Maintain company and vendor materials in the Item Catalogue to easily add materials to T&M tickets, field reports, FMRs and Purchase Orders.
The setup of a master material list is optional but recommended. This will be the default material list for all projects, but can be modified at the project-level as well. Learn about uploading a project-specific material list here.
Table of Contents
- Customize Your View
- Import a Material List
- Edit Materials
- Define Custom PO Fields
- Edit Group Names
- Vendor Lists
Customize Your View
The Item Catalog houses a master list of company and vendor materials and vendor pricing. Company items are sorted into tabs by "Item Type" into the Material, Equipment, Rentals or Tools tabs.
Customize your view by using the Select Columns dropdown to choose what information is displayed on the dashboard, and drag to rearrange columns.
Click Save My Views to switch between multiple views with different configurations.

Import a Material List
From the menu icon at the top right, you can download the template to upload the material list, and export the list to cleanup and upload again.
- Navigate to Admin > Item Catalog and click on Download Template from the Menu icon

- Open the Excel file that downloads
- Add your material info, leave the headers and delete the Example/Instructions lines

- The fields are as follows: (R = Required, O is optional)
Group 2 (R) - A secondary level grouping of material such as Type X or Studs
Group 3 (R) - A third-level grouping of materials such as 5/8" or 16ga If you do not need three levels of subgroups (Metal/Studs/20ga) you can repeat the group name (Insulation/Insulation/Insulation) or (Paint/Primer/Primer)
Item Description (R)
Item Type (O) - Used to sort material, select from Material, Equipment, Tools or Rentals and the item will show up on the respective tab.
Image URL (O) - Not yet functional.
- Save the material list on your desktop and Upload through the Menu icon.
- During the upload, if any items are improperly formatted you will be able to make updates in the window to complete the upload.
- Alternatively, you can add items individually via the +New Material button on the dashboard.
Edit Materials
You can Edit (or Delete) items on the material list using the cog wheel icon on the righthand side (or the red X to delete).

- This is how the information appears in the item details. See description and usage above in red in the list upload section.

Define Custom PO Fields (for Procurement customers)
- From the Menu icon, select Edit Custom PO Fields

- Name the fields as desired and Save

- Once the fields are defined, you can populate the item detail on the template, or edit the items individually:

- Custom PO Fields are also available to customize your dashboard view:

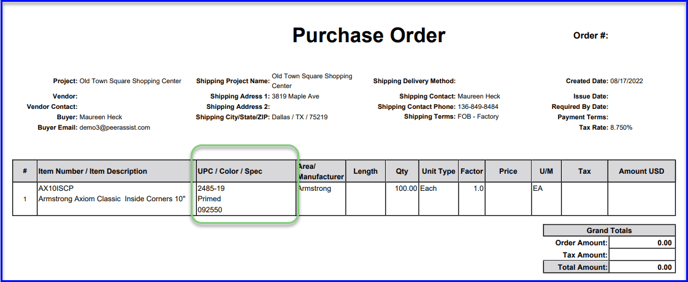
- Custom PO Fields will display on the PDF of the Purchase Order:
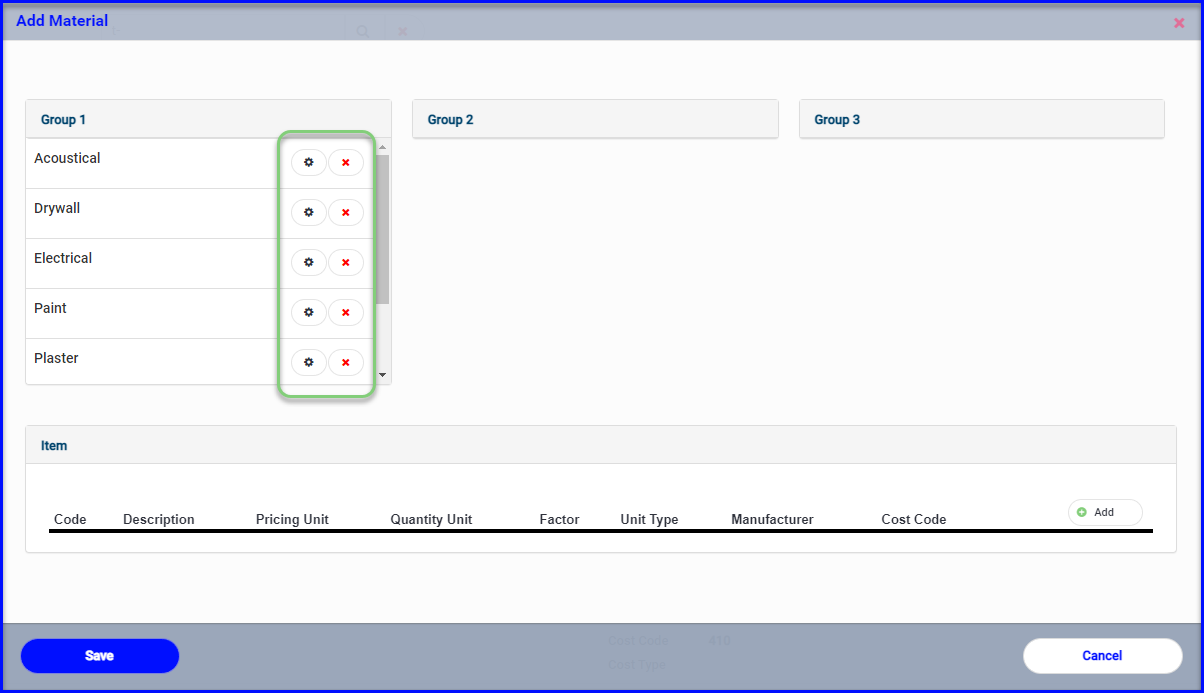
Editing/Deleting Group Names
To edit or delete existing Groups 1, 2 and 3:
- Start in Admin > Item Catalog and click + New Material
- Use the Cog wheel or red X next to each group name as needed
- Save changes (without adding a new item) and all items in the group will update accordingly
Vendor Pricing on the Item Catalog
Once you have set up company materials in the Item Catalog, you can create vendor lists in the Vendor Pricing tab. Please read the full article on vendor lists here.