Learn how to create a Purchase Order from scratch.
- Learn how to create Custom PO Fields
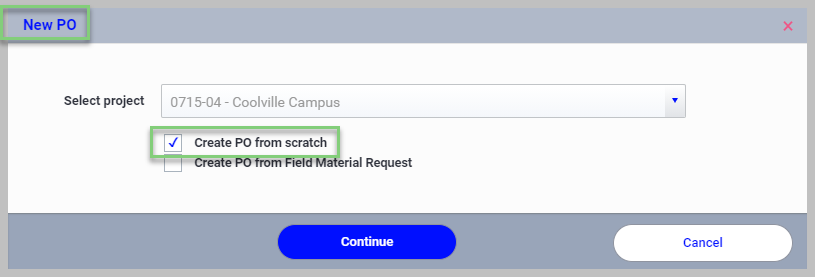
Start a New PO
- From the PO Processing tab, click + New PO

- Enter or Select the Job # from the Project dropdown and select the option titled Create PO from scratch.
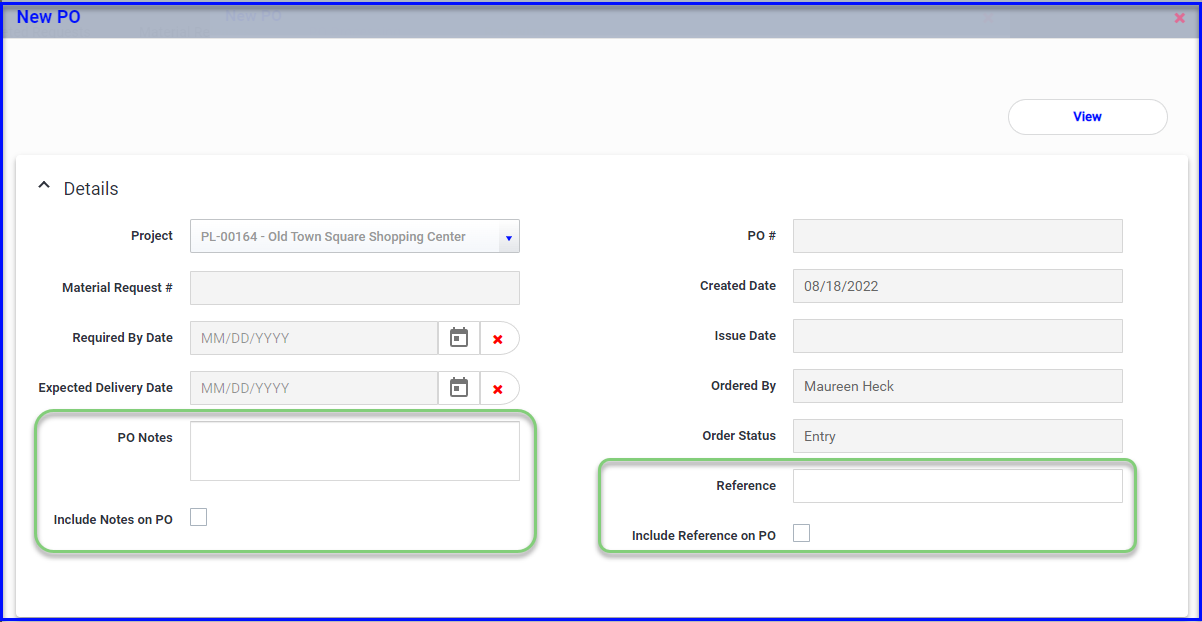
PO Details
- Switch projects if needed
- Enter the Required by / Expected Delivery Dates
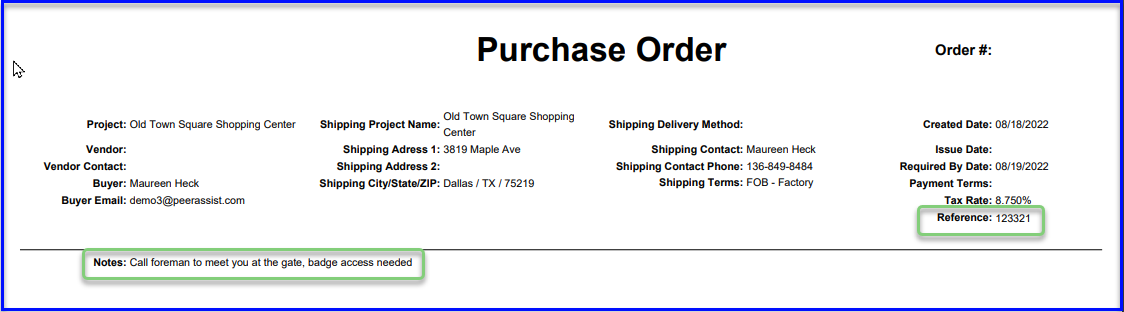
- Add a Note whether internal or to display on the PO
- Add a Reference whether internal or to display on the PO (This Reference will also display on the PO Processing dashboard & can be filtered)
- All other information such as the PO# will be auto-generated upon saving
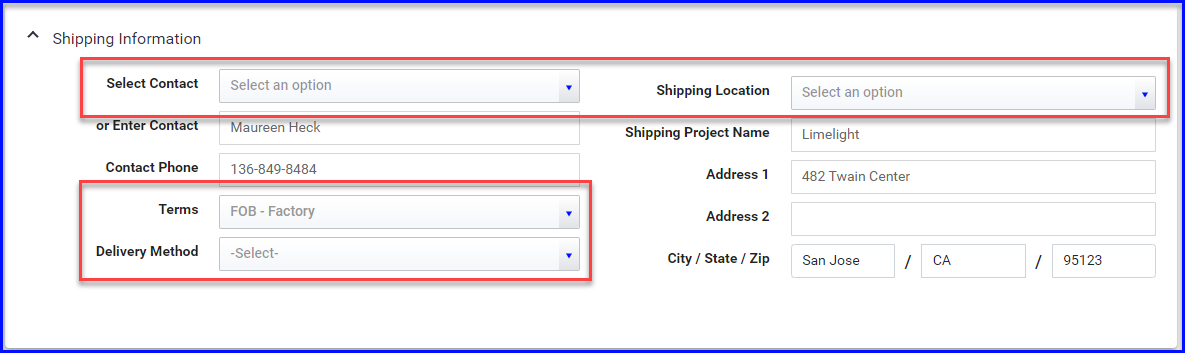
Shipping Information
- Select the Contact from project team members in the dropdown, or Add Contact manually (how to create a custom list of Shipping Contacts)
- Choose a different Shipping Location if needed (how to add alternate shipping locations)
- Select the Terms or Delivery Method to display on the PO
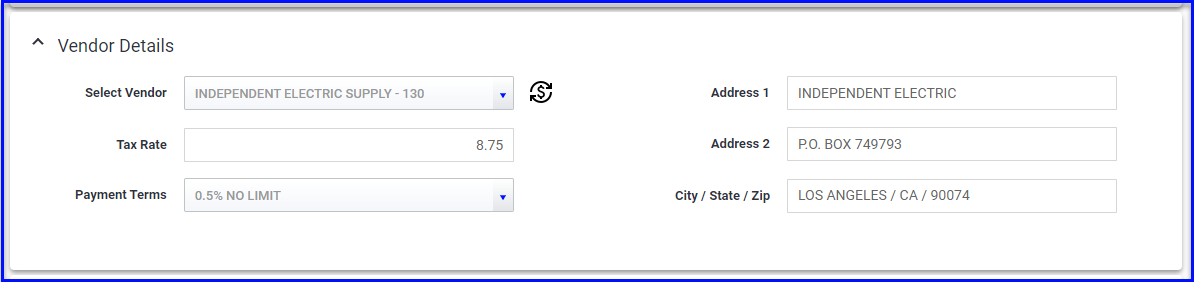
Vendor Details
- Select a Vendor (unless you will be sending the order for quotes) and edit their address if needed
- Use the ($) icon if you wish to update items with the vendor's price (assuming you have added material to the PO and the selected vendor has a price list loaded in their profile)
- Adjust the Tax Rate if needed
- Indicate Payment Terms to display on the PO
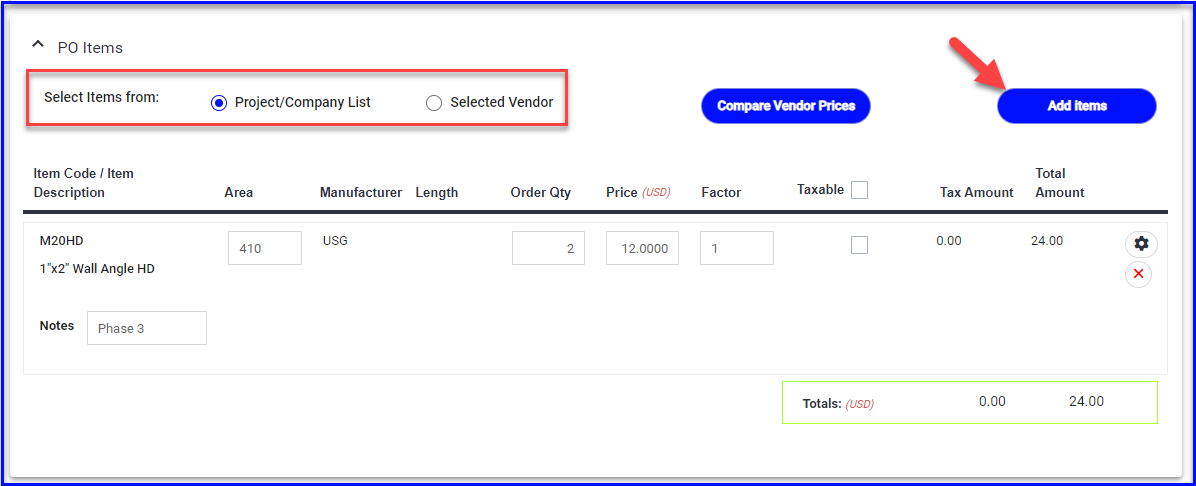
Adding Material
- First choose if you want to select items from the Company/Project List or the Selected Vendor List (this will pull in the corresponding pricing, if available)
- Then click Add Items to add material to the order
- Choose if you want to search the list by Group or by Text
- Or use the Custom Item field to enter an unlisted item manually (this will not pull in any item details or pricing)
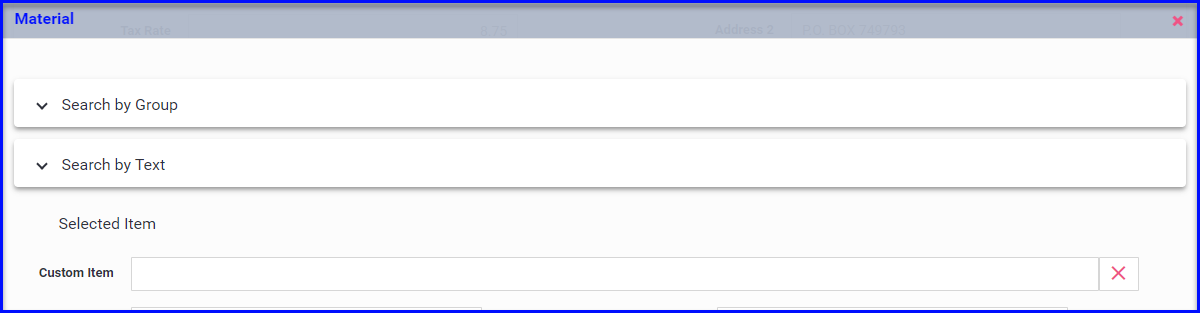
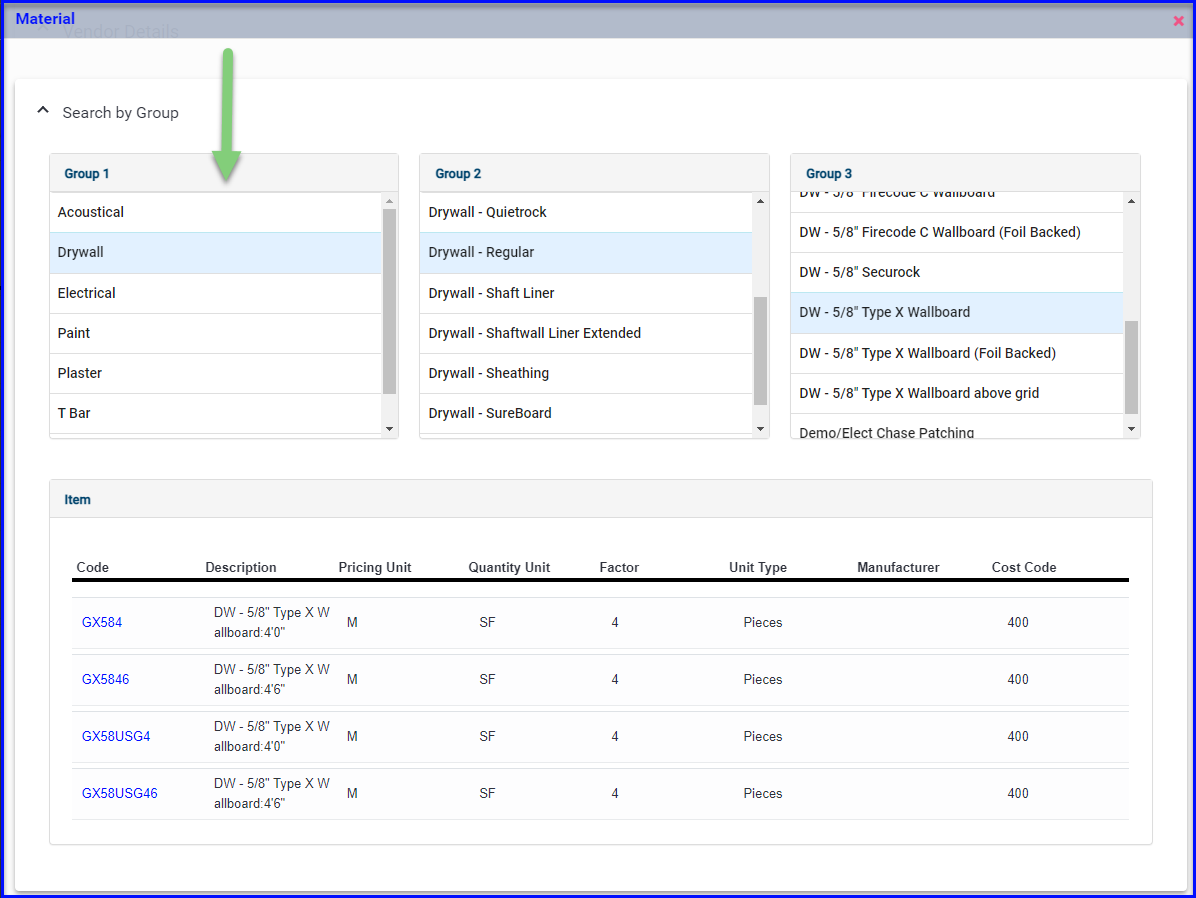
To search by Group, click to open the section:
- Set your preferences for Group 1, 2 & 3
- Select an item from the list below
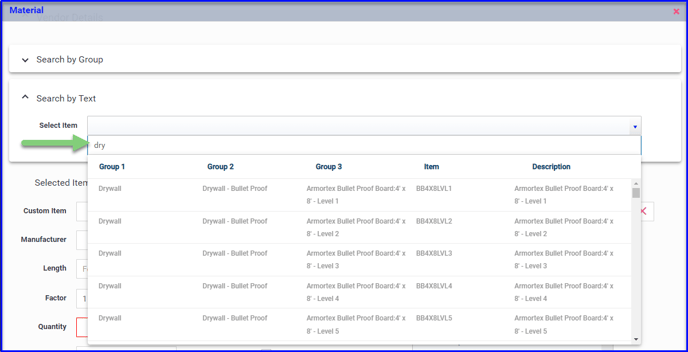
To search by Text, click to open the section:
- Start typing in the Select Item field - you can search by item number or group name or any portion of the item description
- Select the item from the dropdown list of search results
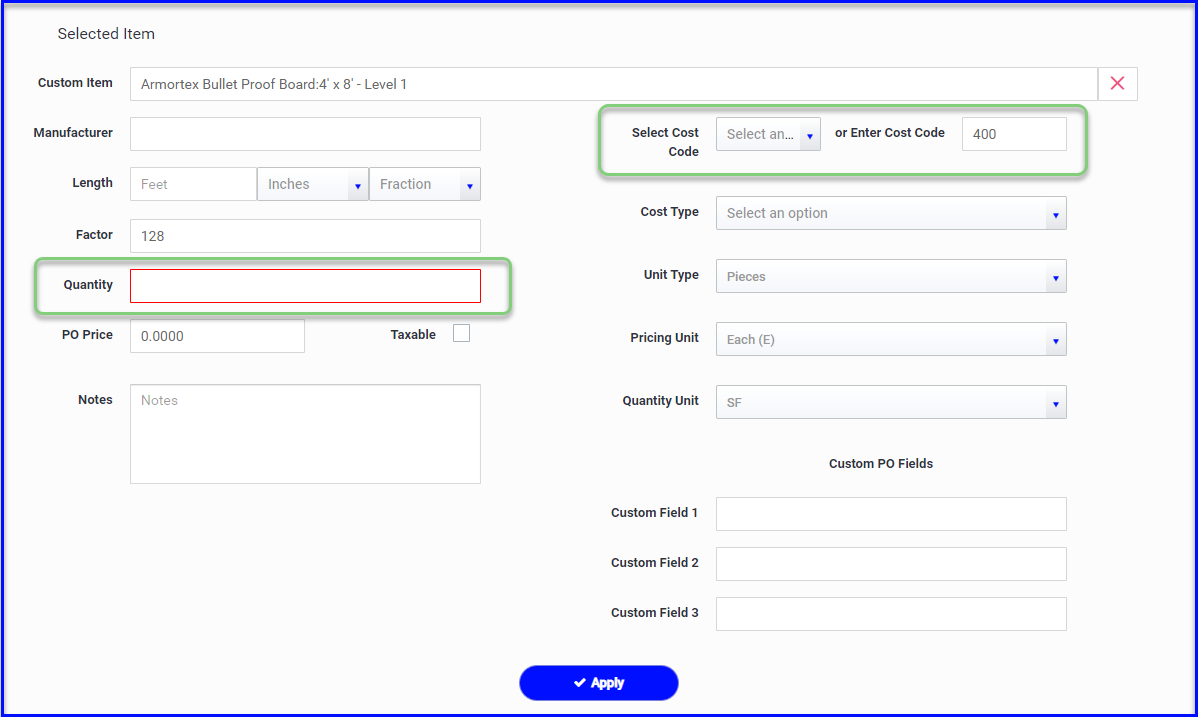
- Once an item is selected, enter a quantity and make any other adjustments needed to the unit or measurement. The PO Price will depend on the list you selected the item from (Company/Project or Vendor - see below about comparing vendor pricing). You can also adjust the tax setting or add Notes.
- If Cost Codes are Required, choose from the dropdown list or enter manually
- Learn how to create a custom list of cost codes
- Learn how to make cost codes required
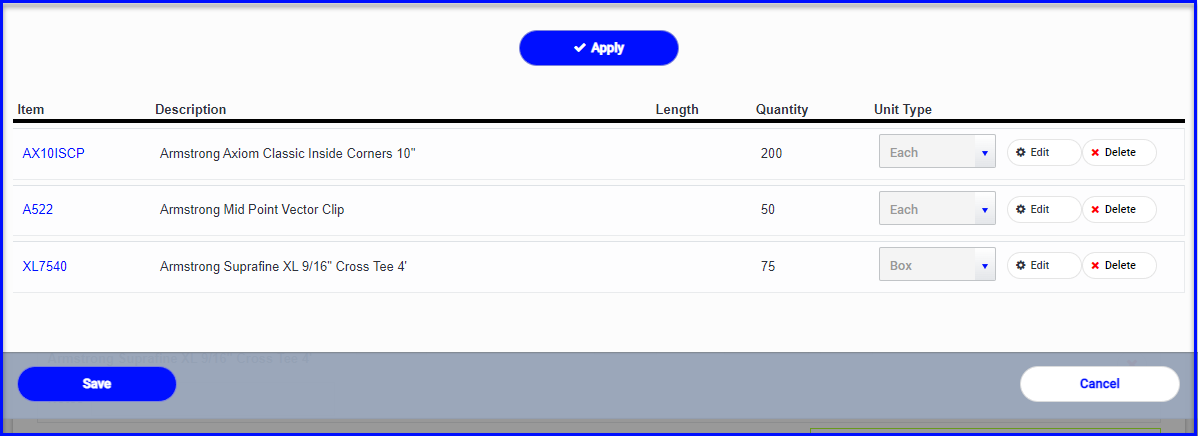
- Click Apply to add the item to the PO
- Continue to search, select & "apply" items to build out your PO
Learn how to create Custom PO Fields
- As you "Apply" items they will drop to the full material list below
- When you are finished adding items, Save changes and go back to the PO
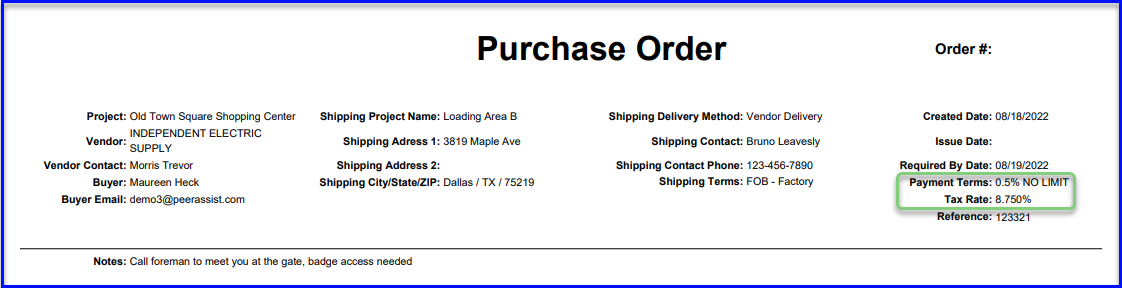
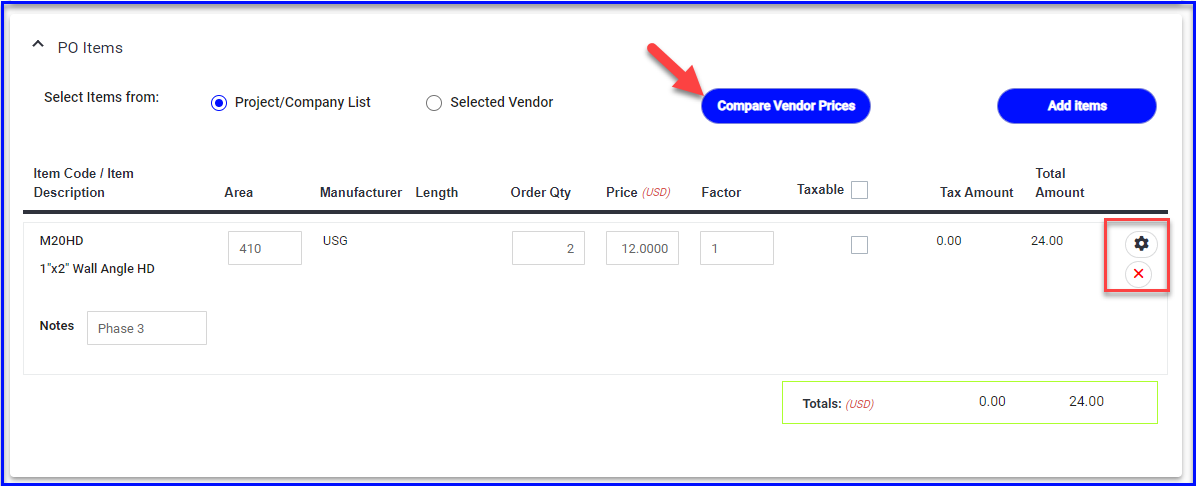
The PO will update with the added materials:
- From here you update the Notes, Area, Quantity, Price, Factor & Tax Setting as needed
- Use the Cog wheel to drill into an item to make additional adjustments
- Use the red X to delete an item
- Add additional items by selecting a list and clicking the Add Items button
- Compare Vendor Prices (assuming that you maintain vendor pricing in the platform, you can find detailed instructions here).
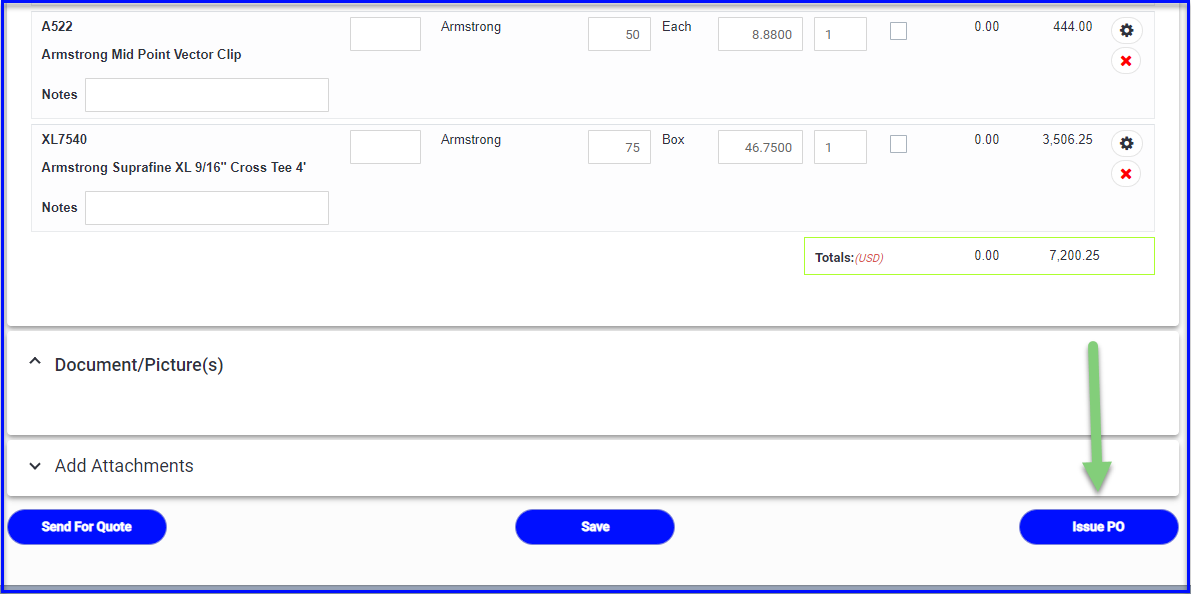
Issue PO (and other options)
- When you're finished just click Issue PO at the bottom right, you will be prompted to email the vendor
- You can also Save changes and issue later
- Or you can Send the for Quote (read more here)
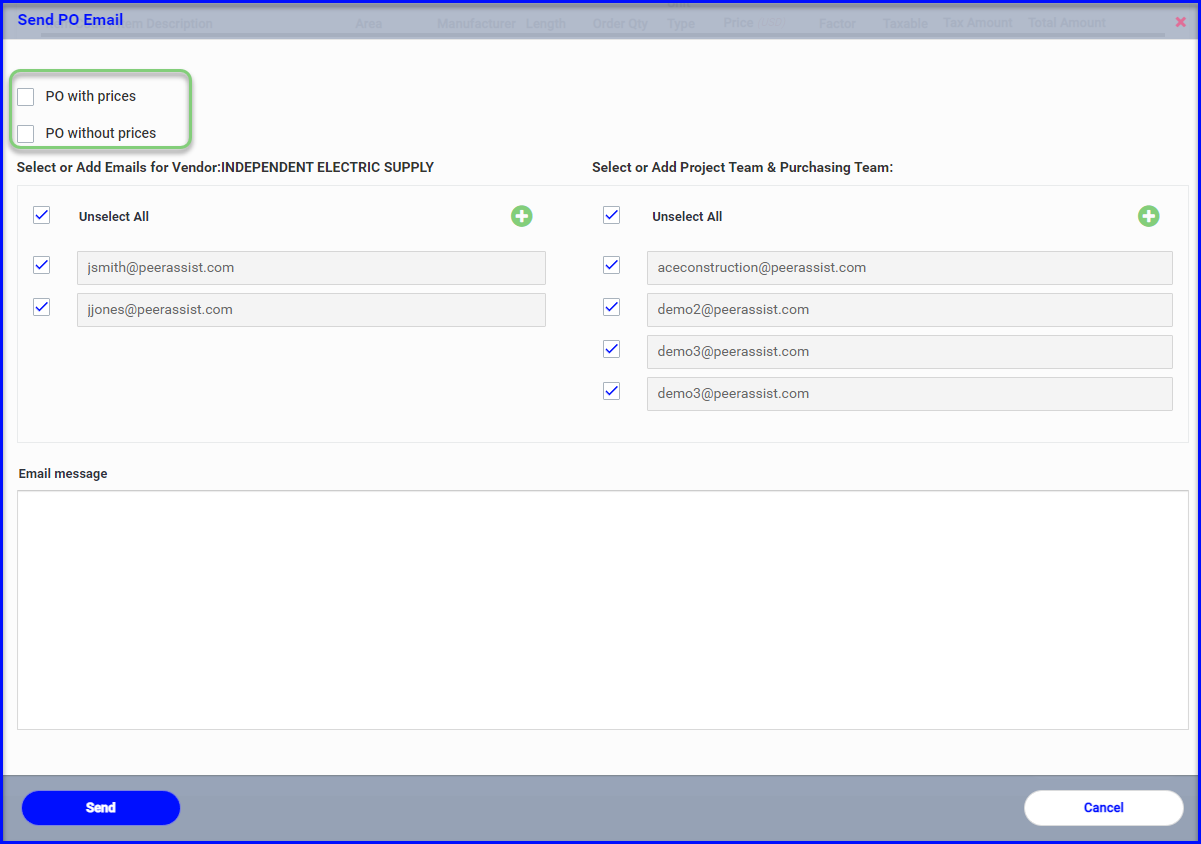
When emailing the PO to the vendor:
- You will be required to choose to show prices or not
- The vendor contacts, project team & purchasing contacts will auto-populate
- You can select/deselect and add people to the distribution as needed
- Customize the outgoing email message if you like
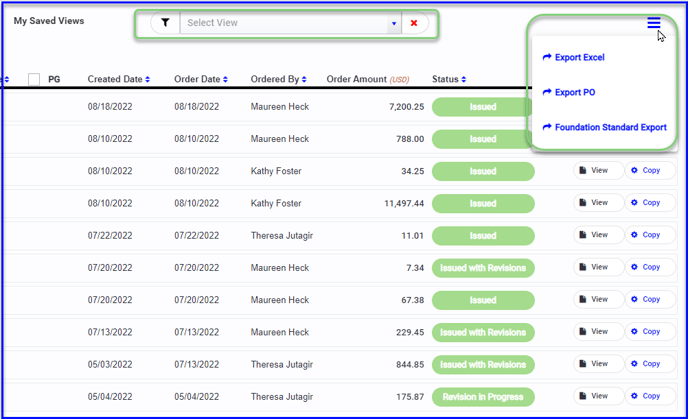
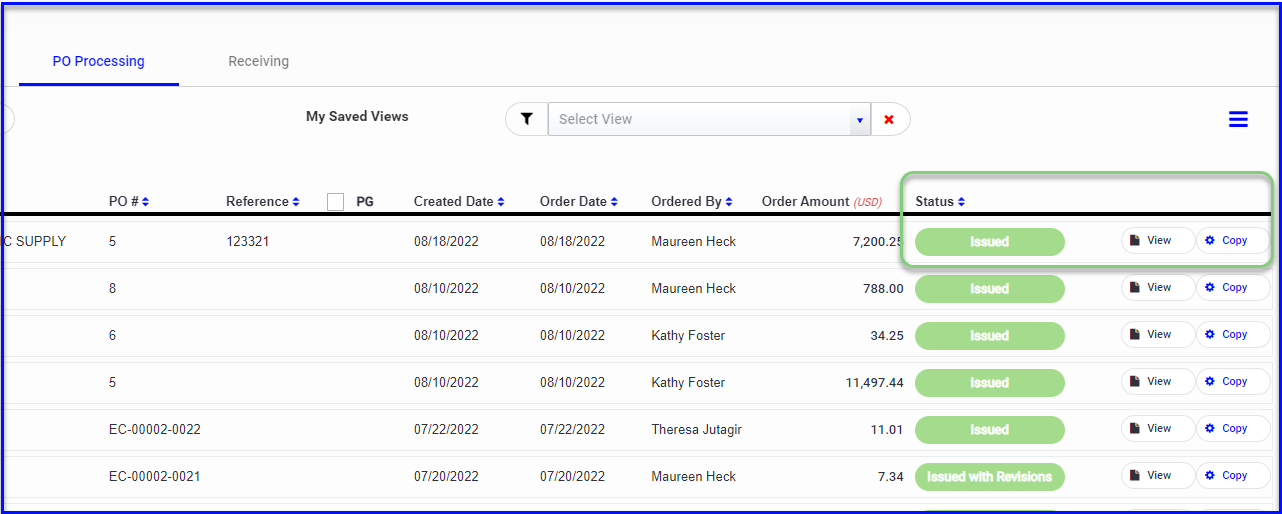
Back on the PO Processing dashboard, the PO will have a status of Issued which you can View or Copy. You can also revise a PO, read more here.
Don't forget that you can also filter and export data from the PO Processing dashboard!